
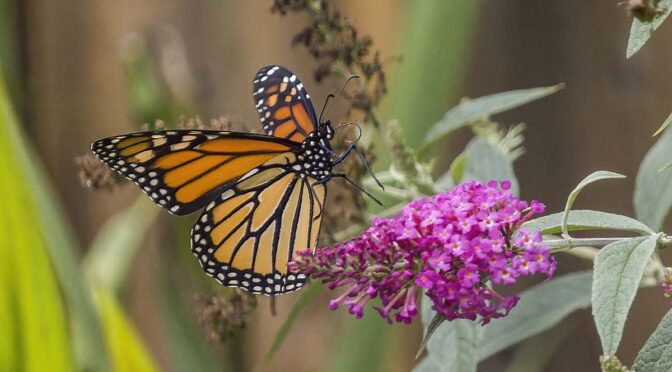
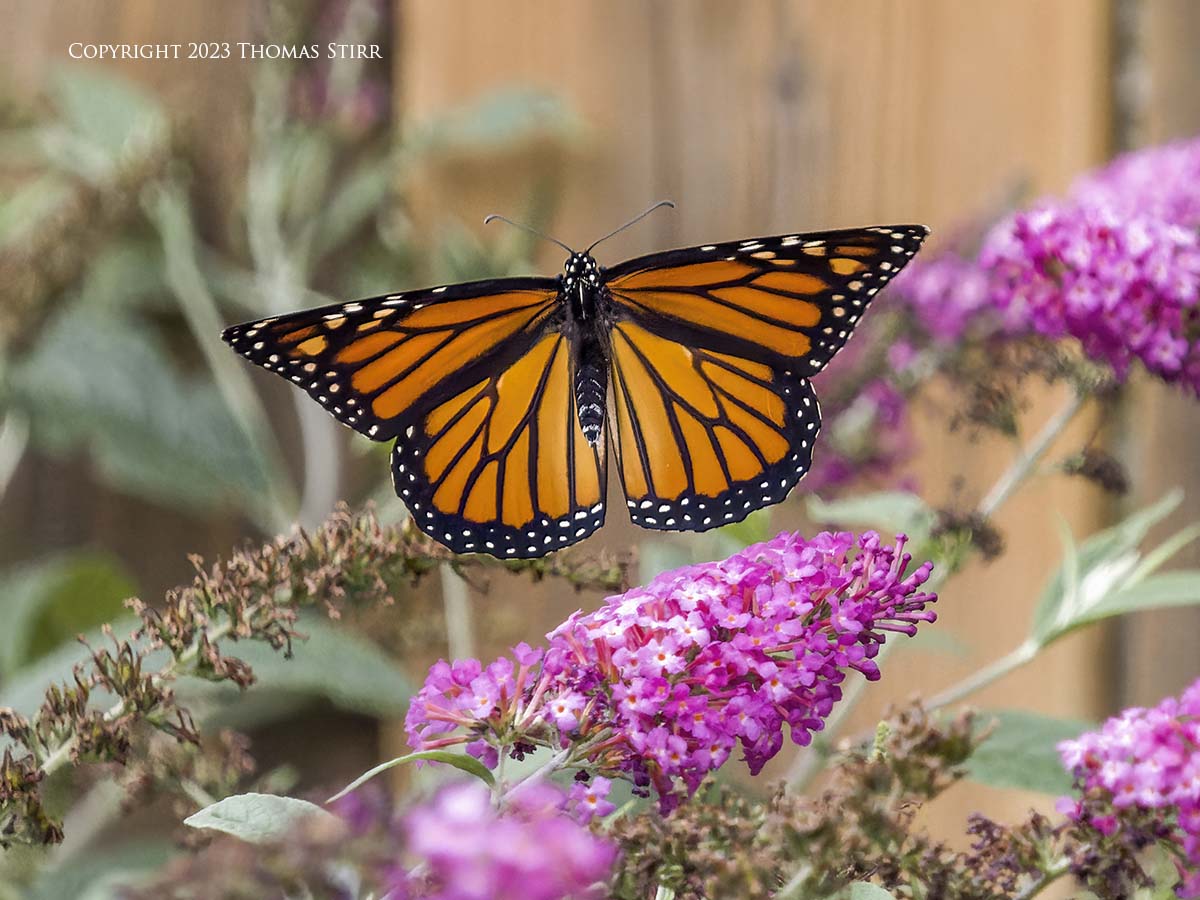
This article features some handheld test images of butterflies with the M.Zuiko 100-400 mm f/5-6.3 IS zoom. The butterflies in-flight in all of the photographs in this article were about 6.8 to 8.1 metres (~22.3 to 26.6 feet) away from my shooting position.
NOTE: Click on images to enlarge.

As photographers we sometimes put far too much emphasis on using continuous auto-focus with our camera gear. This is especially true when photographing moving subjects flying in and around obstructions like flowers, branches and leaves.
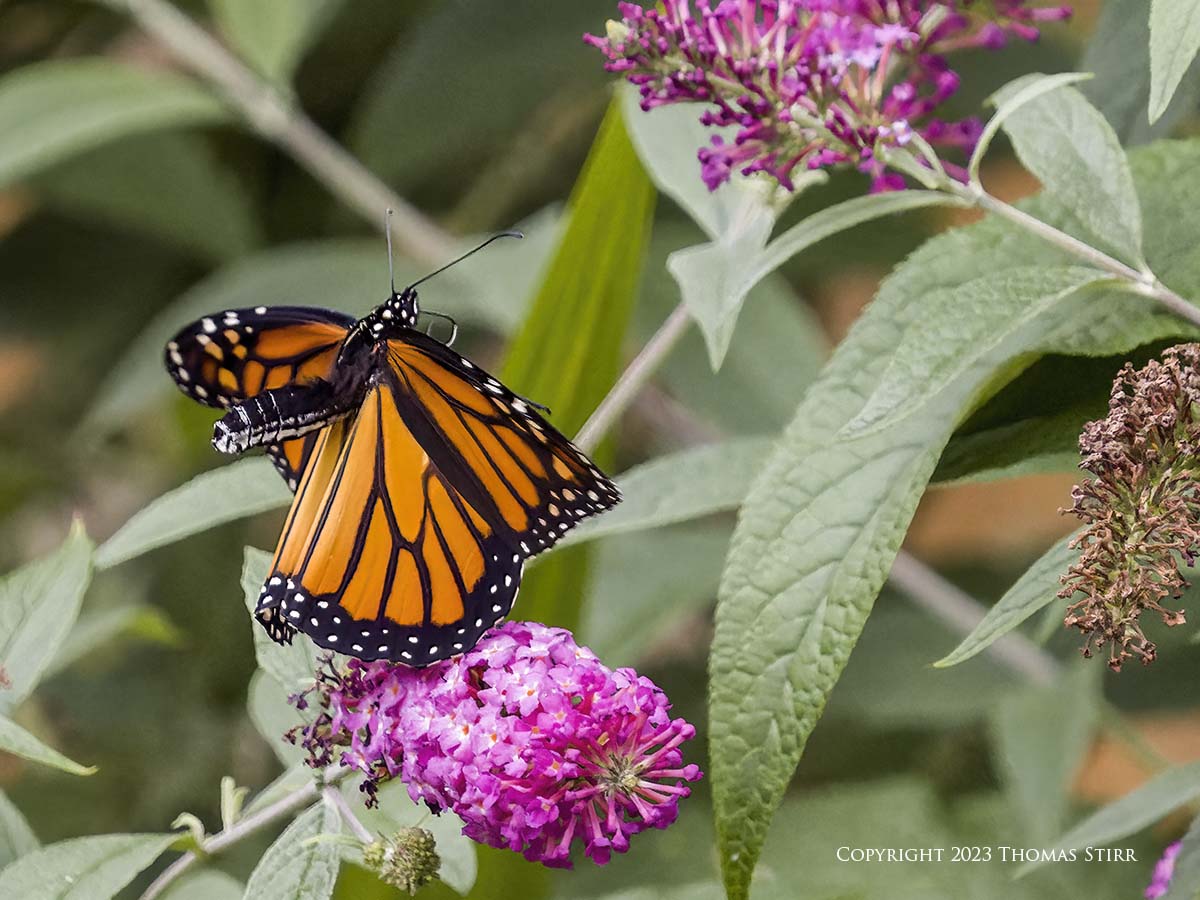
At the end of the day the basic objectives we have for our images are pretty simple… to get our subject in focus, and with a proper exposure. How we go about doing that in terms of the auto-focusing mode used doesn’t really matter. It’s the outcome that counts.
Quite often our best choice of auto-focusing mode can be Single AF, where the first frame locks focus and exposure for the balance of the image run. I use this setting on a very regular basis along with a single, small AF point. This approach works very well as long as we correctly anticipate the direction of movement of our subject, and choose an appropriate shooting angle.
For example if we have a shooting angle that will likely result in a butterfly flying parallel to our camera’s sensor there’s a good chance it will stay in focus even if we are using Single AF and firing off a run of images.
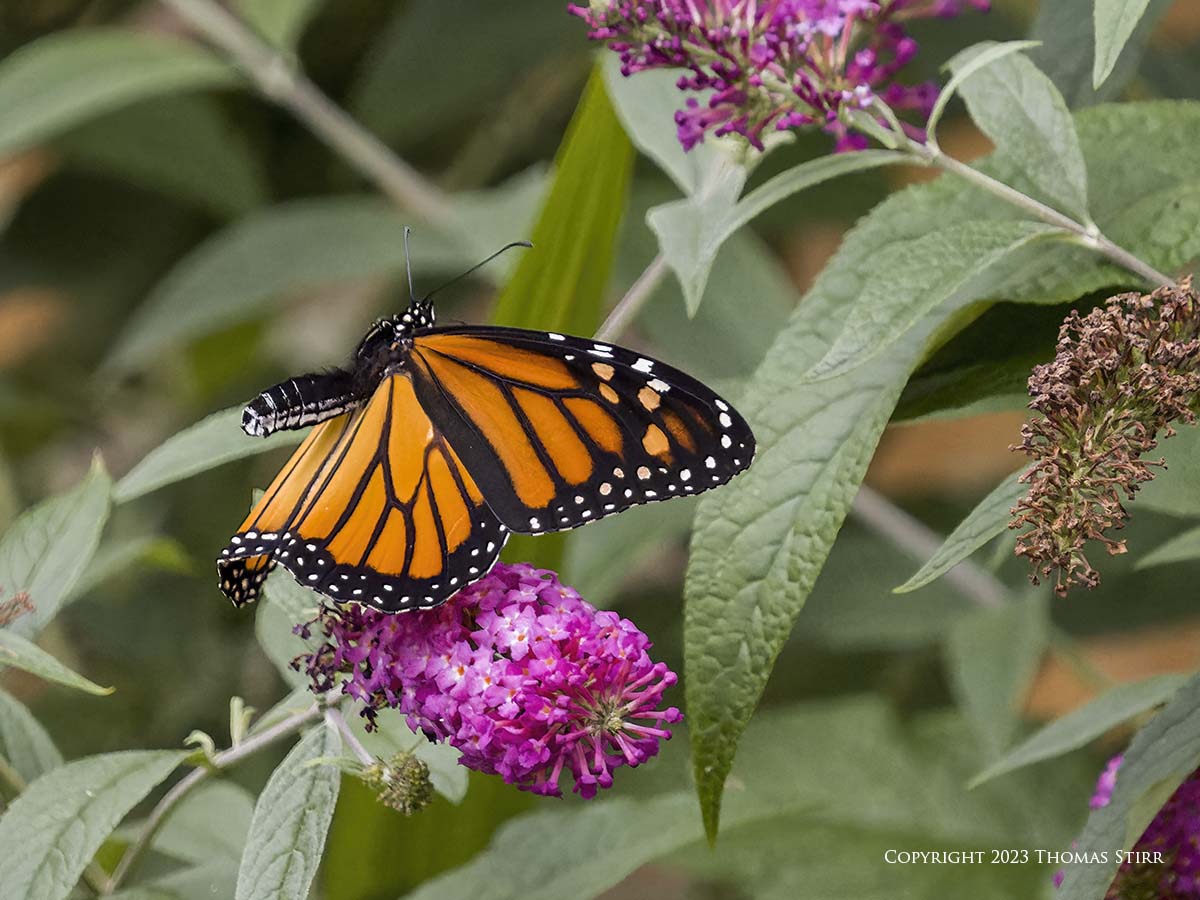
To investigate the impact of aperture, focal length and distance from subject on depth-of-field, a photographer can visit any one of a number of online depth-of-field calculators.
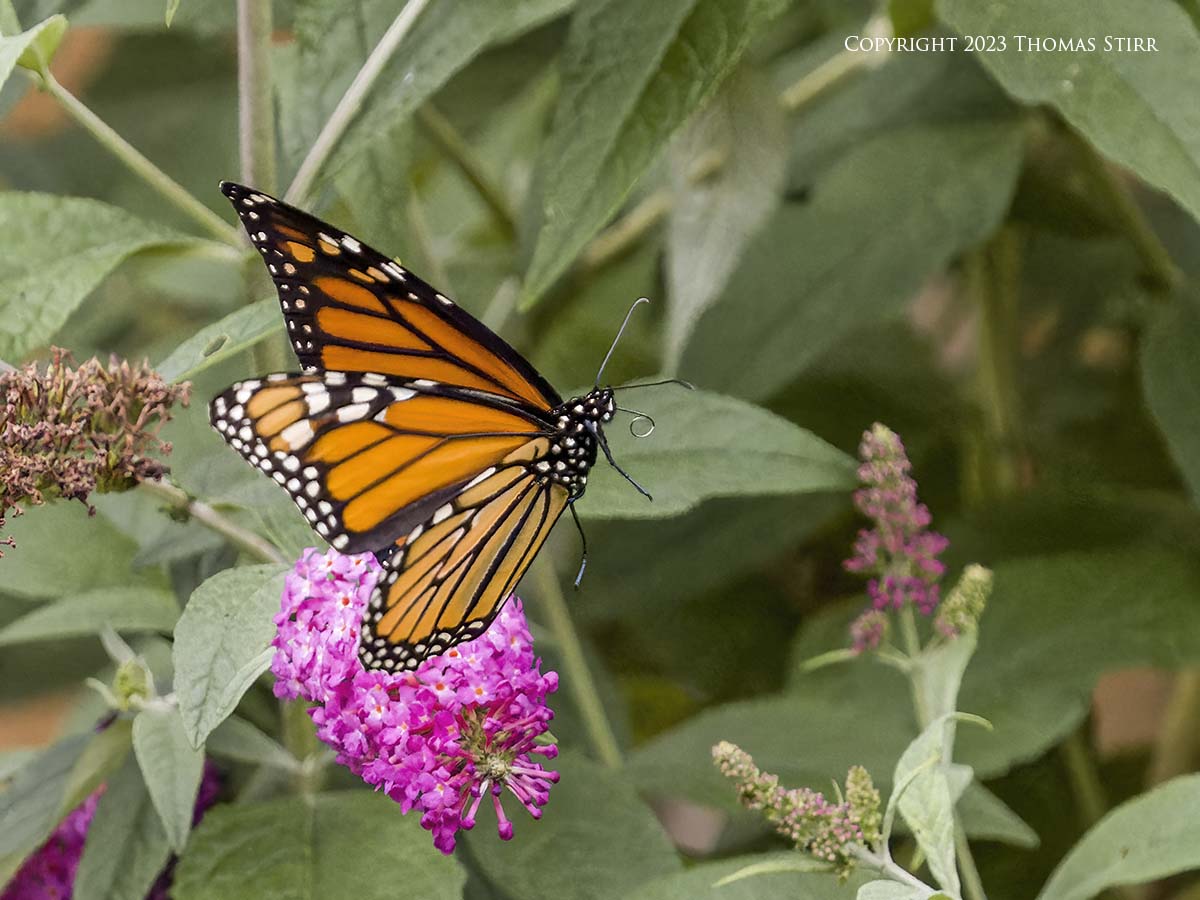
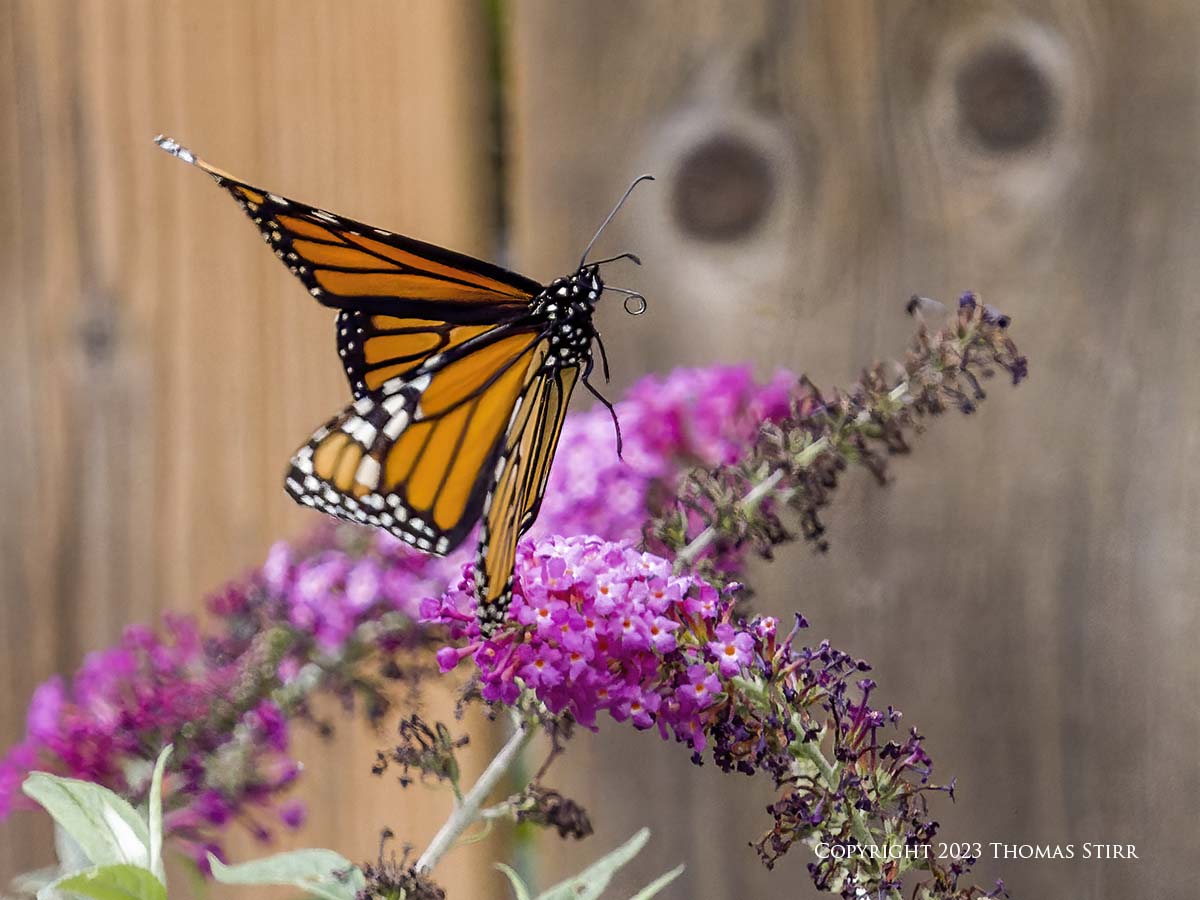
For example, the butterfly in the above photograph was 7 metres away from my shooting position. I was using a focal length of 400 mm, and an aperture of f/6.3, with a M4/3 camera. This would create depth-of-field of about 5.5 centimetres (~2.2 inches). While that amount of depth-of-field seems quite shallow, as long as the butterfly is moving parallel to my camera’s focal plane it will remain in focus.
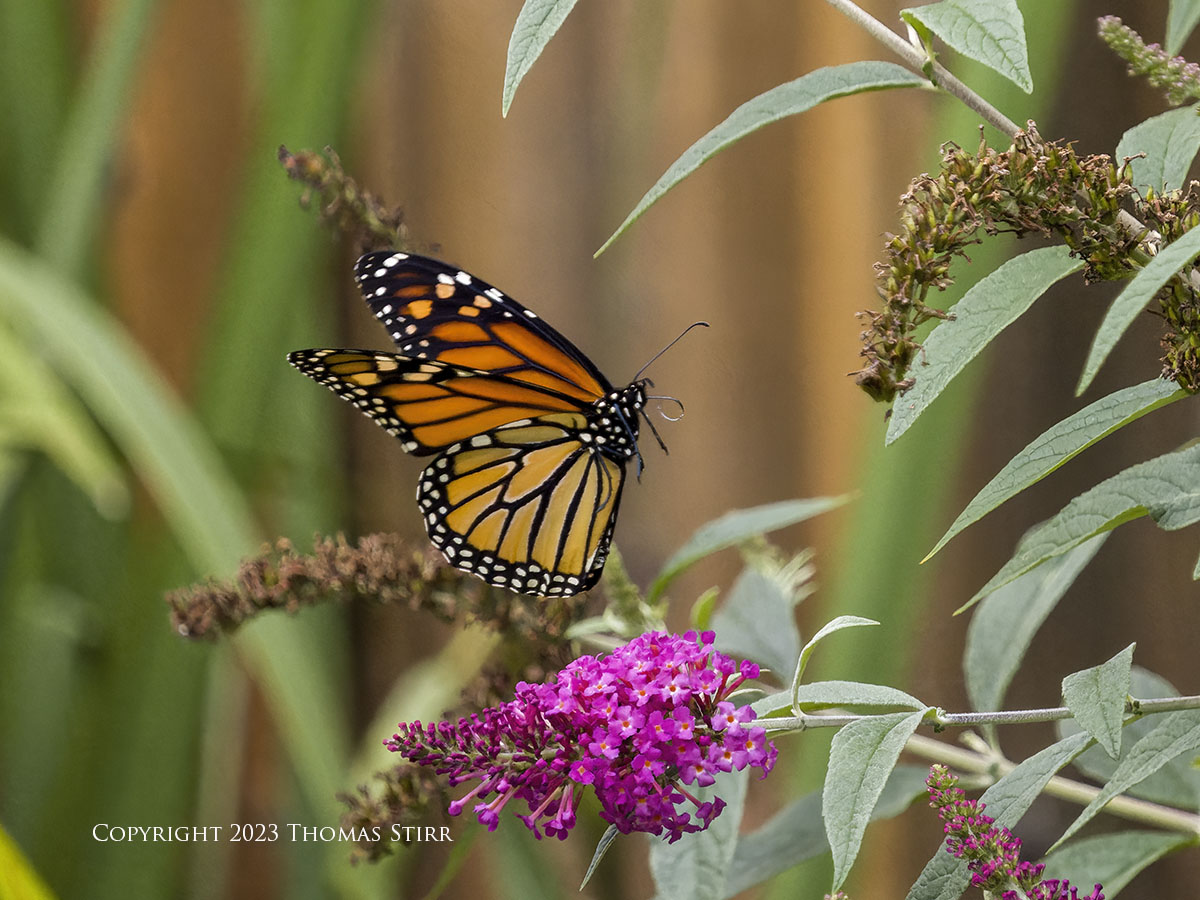
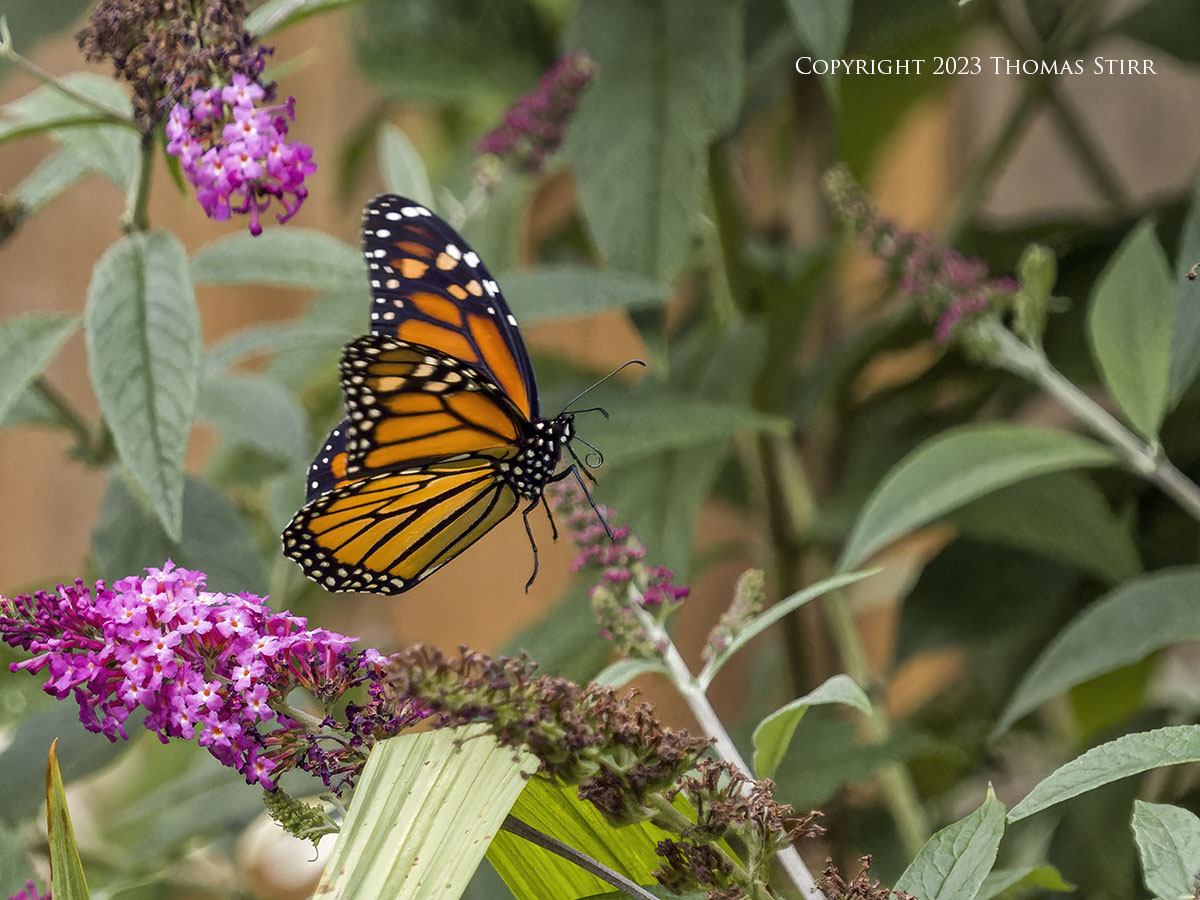
If the same focal length and aperture are used with a butterfly slightly further away, i.e. 8.1 metres as illustrated in the image above, the depth-of-field increases to 7.4 centimetres (~2.9 inches).
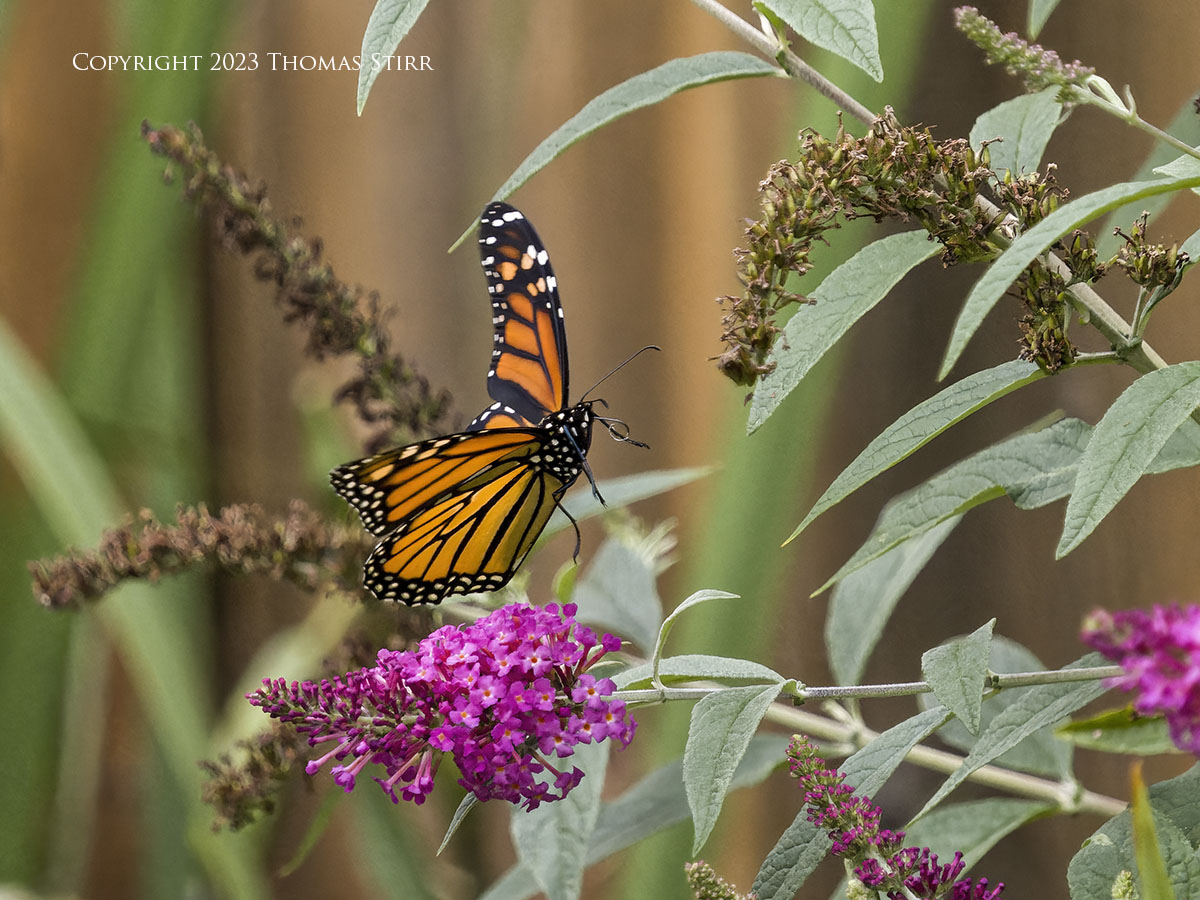
To increase the likelihood of successfully capturing photographs of butterflies in flight I use Pro Capture H with a frame rate of 60 frames-per-second, and single, small AF point. I have my Pre-Shutter Frames and Frame Limiter both set to 15. This gives me 1/4 of a second of shutter response time… which is usually sufficient for my purposes.
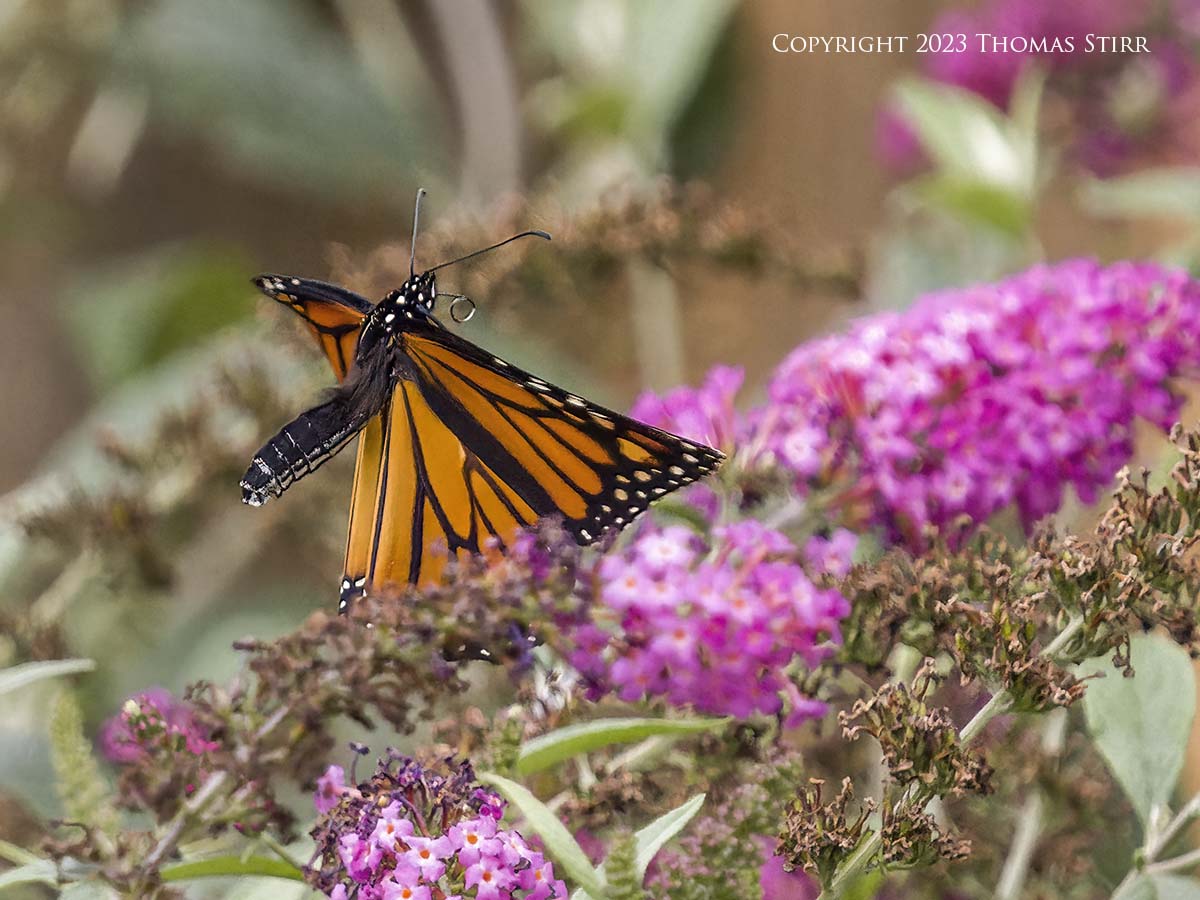
Folks who use an OM-1 could try continuous auto-focus with a frame rate of 50 frames-per-second as long as the lens they are using is compatible with that C-AF frame rate. My M.Zuiko 100-400 mm f/5-6.3 IS is limited to 25 frames-per-second with C-AF. This is due to the capability of the AF motor in the lens, not a restriction related to the OM-1.
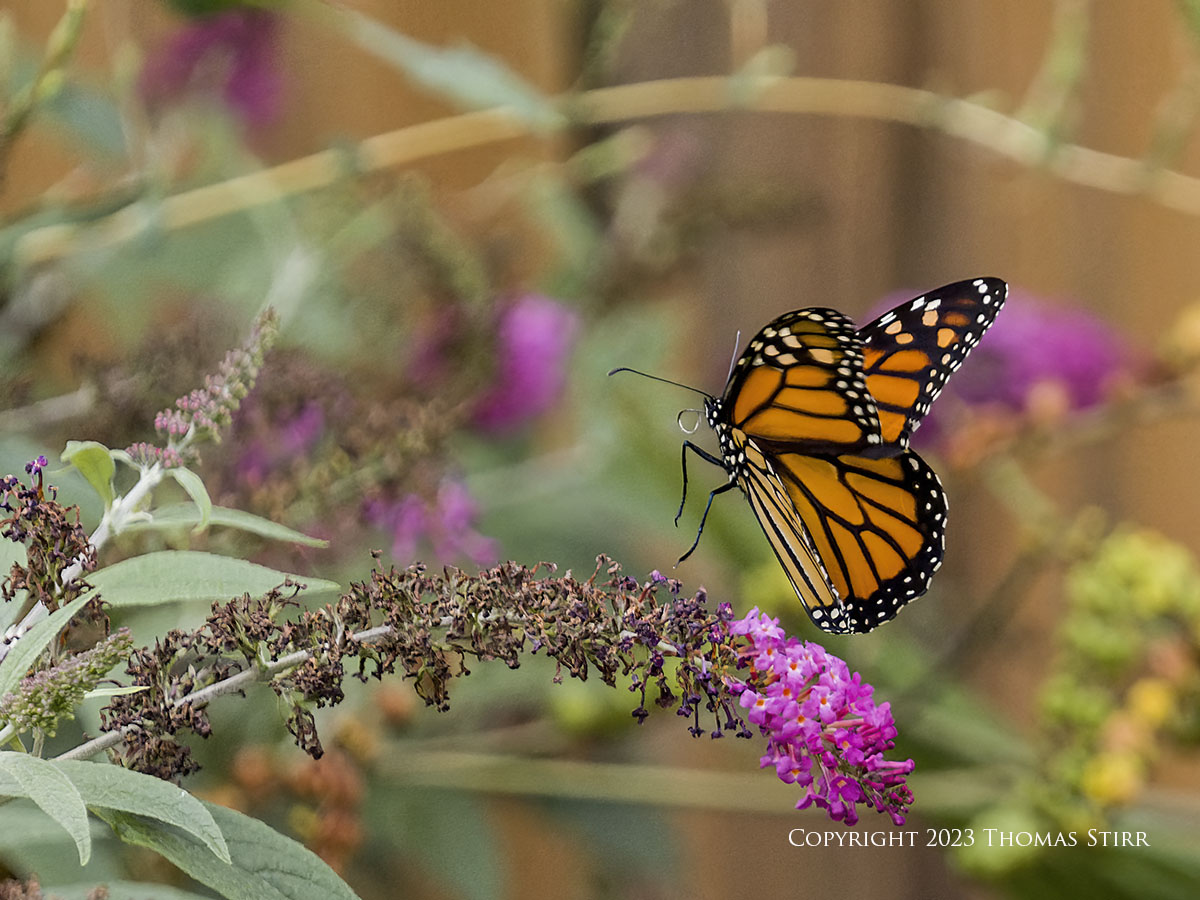
Obviously getting in tighter to a subject butterfly and using a shorter focal length will create deeper depth-of-field at the same aperture setting. This is the approach that I often use rather than shooting from 7 to 8 metres away. As noted earlier, these are test images shot outside of my typical parameters.
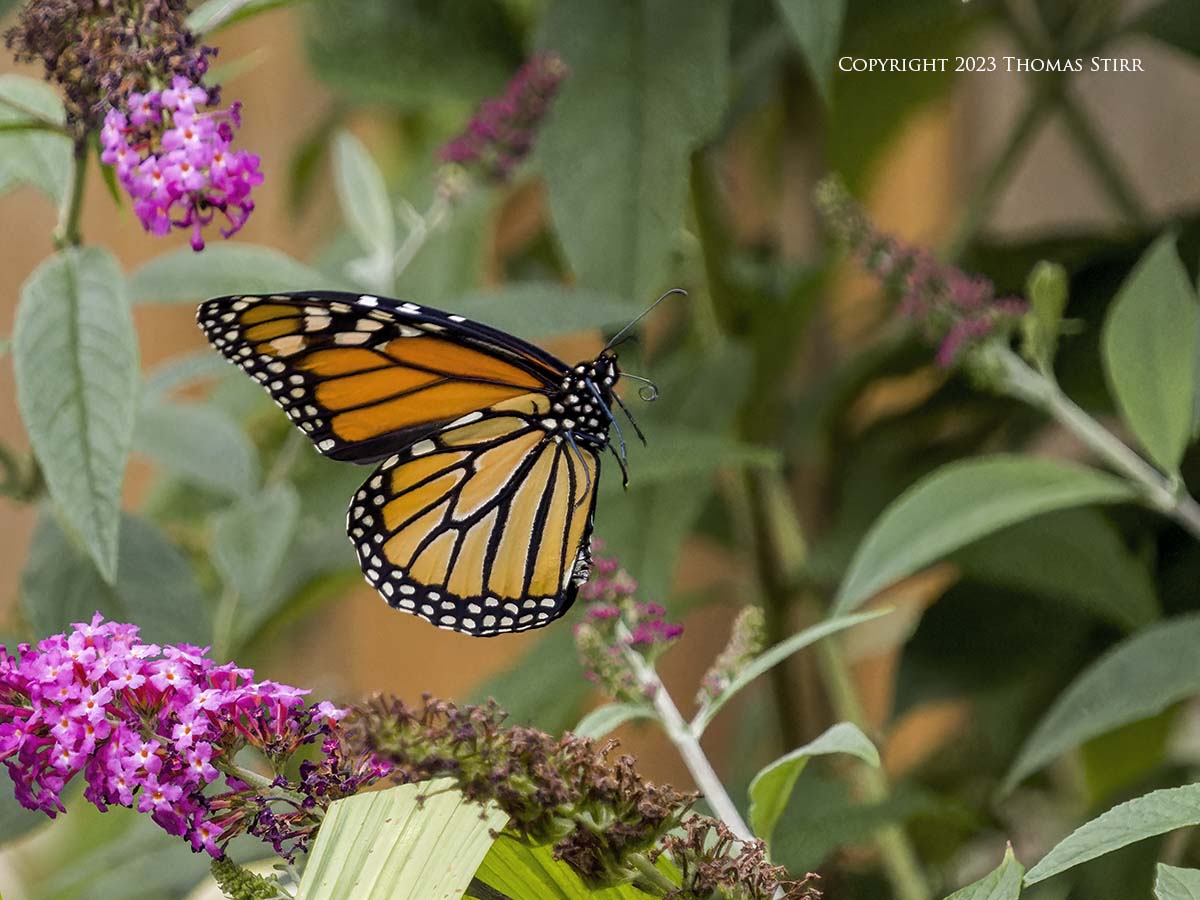
One of the advantages of using Single AF is being able to focus on a flower, twig or other object if our subject butterfly is mainly hidden from view. When the butterfly takes flight, as long as it flies in the direction anticipated, we still have a good chance of getting an in-focus image if the butterfly moves through our pre-focused area.
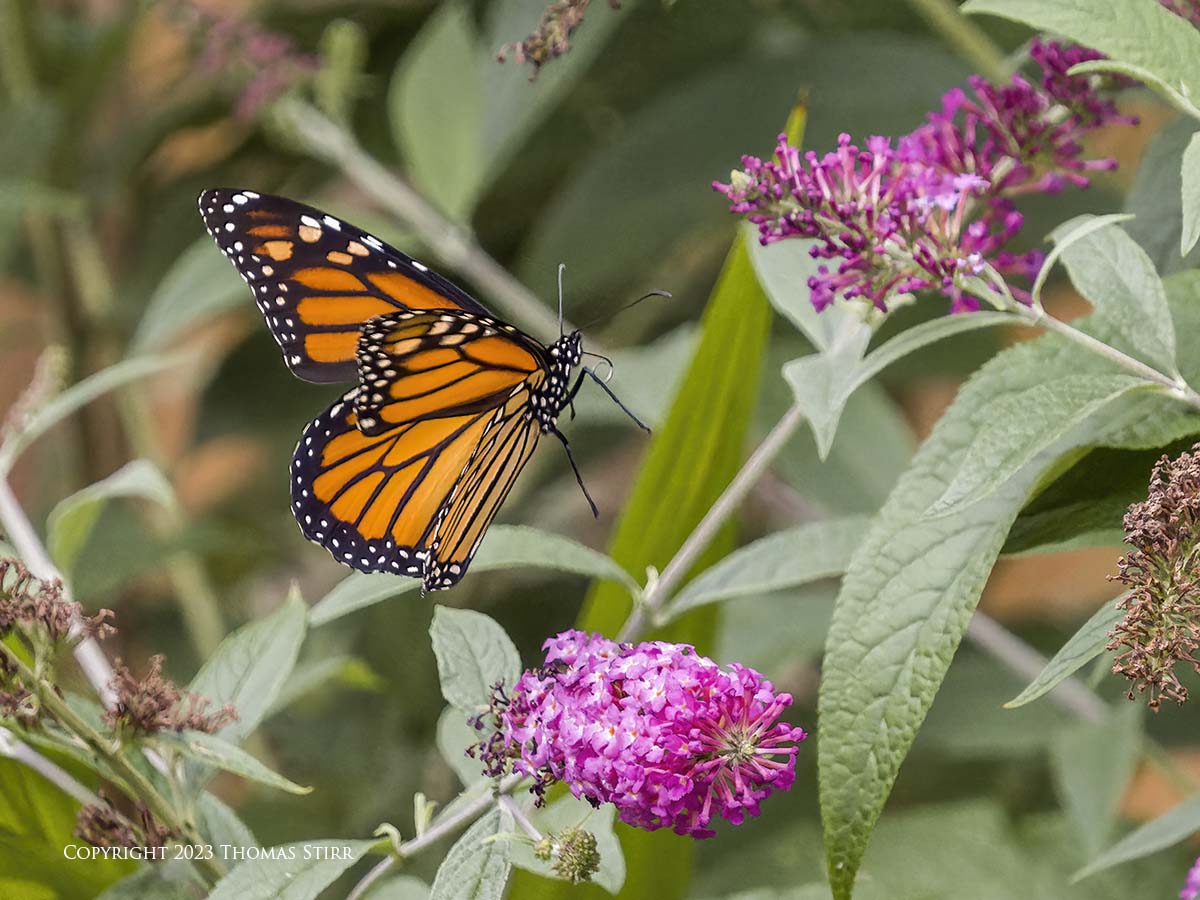
Using a pre-focused area also allows us to capture butterflies taking flight from… or landing on… a specific blossom. Single AF enables us to lock focus and exposure for these types of image opportunities. Using C-AF can cause variations in focus due to wind movement.
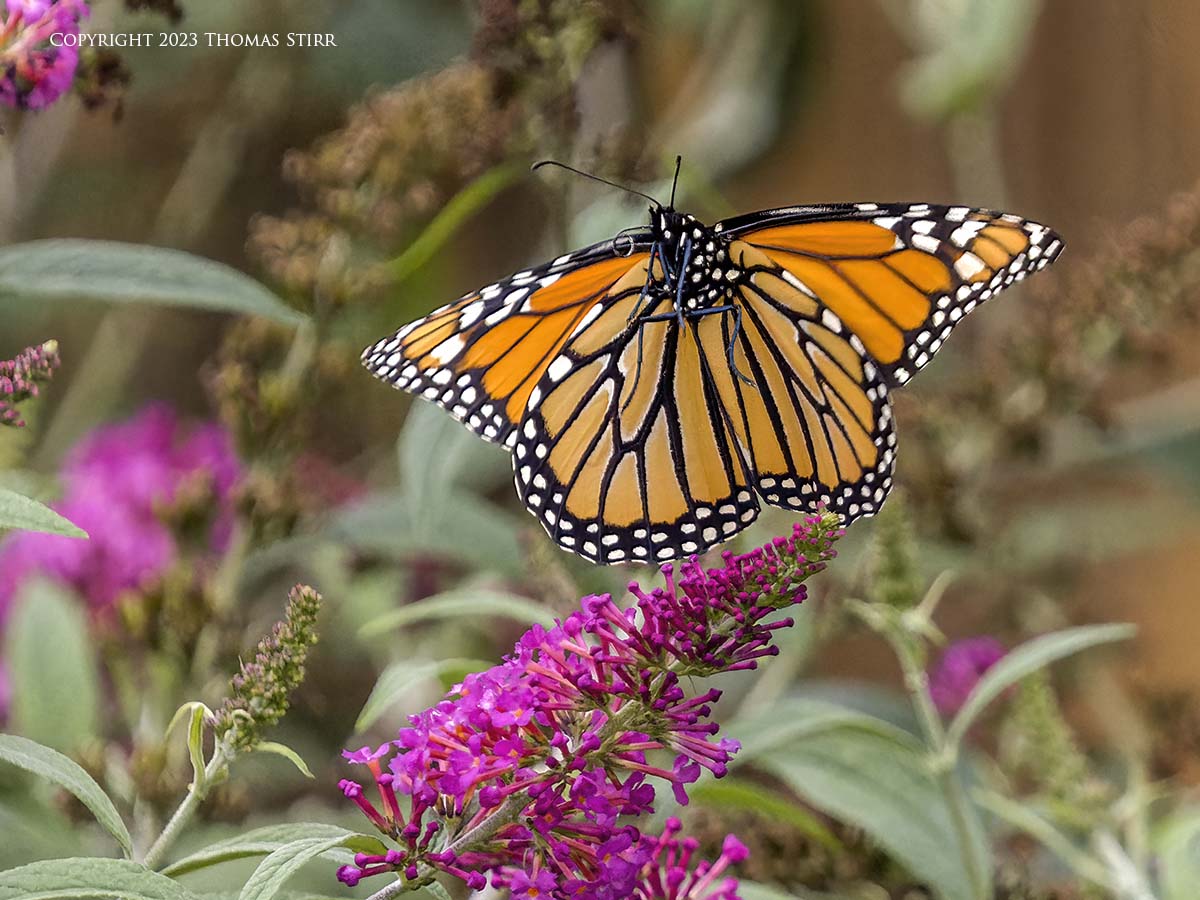
We also put more pressure on our camera’s autofocusing system when shooting at a high frame rate using continuous auto-focus. That can sometimes contribute to the focus on some frames to be missed in mid-stream. If there are a lot of potential obstructions near our subject, using C-AF may lock onto something else as we try to track with our subject. Using Single AF eliminates this risk.
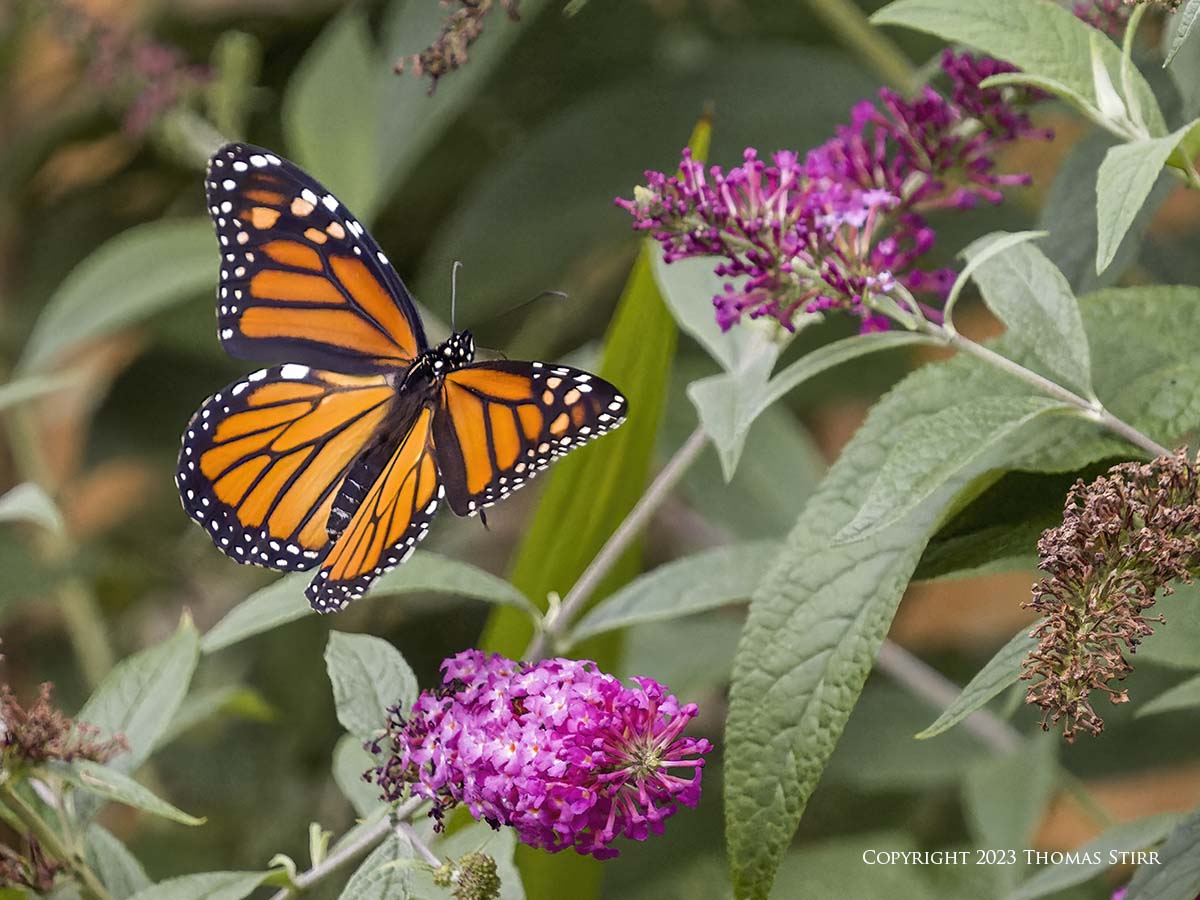
Every photographer has their own approach when capturing images in specific situations. One way isn’t necessarily better than another… they’re just different. Each of us needs to use our camera gear in ways that produce the best and most consistent results for us.
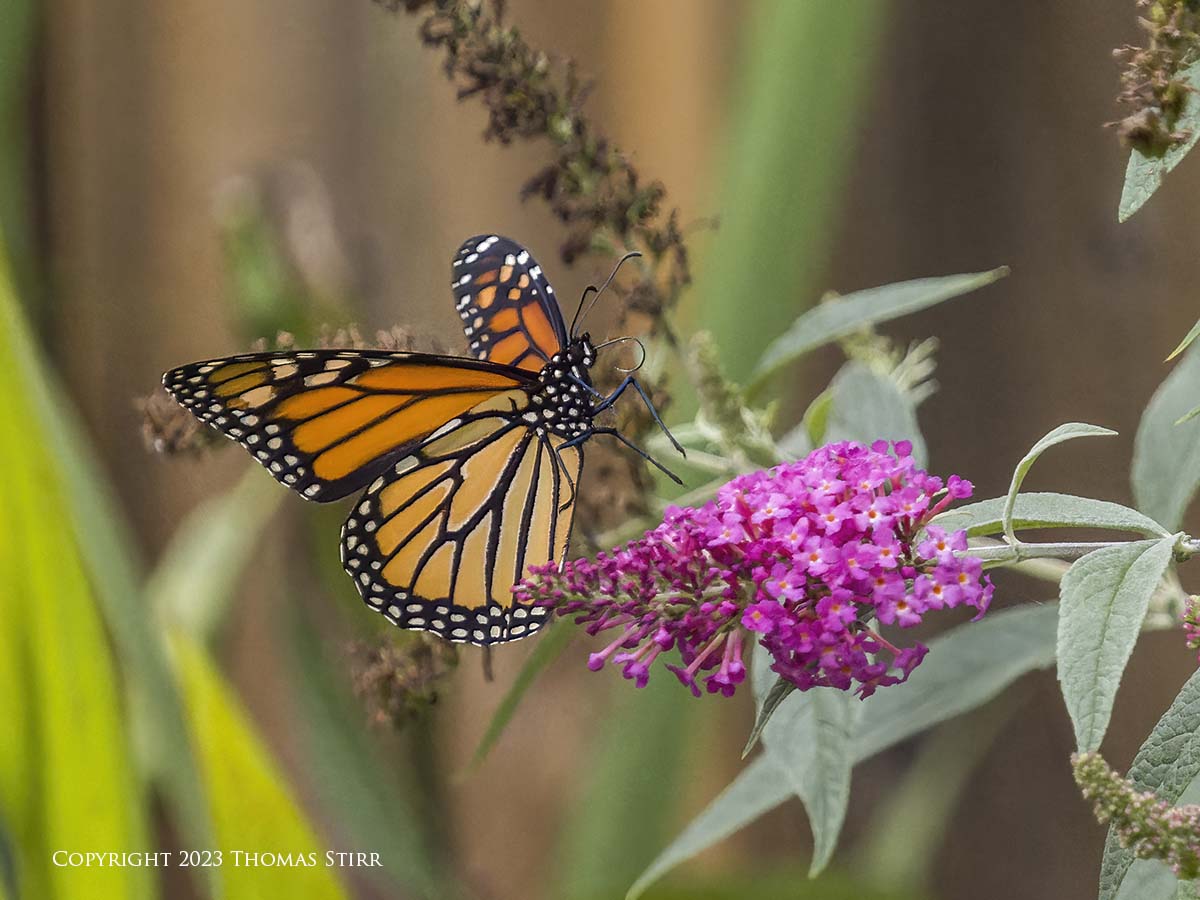
Technical Note
Photographs were captured handheld using camera gear noted in the EXIF data. Images were produced from RAW files using my standard process. My standard Pro Capture settings were used for all of the images featured in this article. Pre-Shutter Frames and Frame Limiter were both set to 15. Single AF with a single, small AF point was used, along with a frame rate of 60 frames-per-second. This is the 1,348 article published on this website since its original inception in 2015.
Word of mouth is the best form of endorsement. If you like our website please let your friends and associates know about our work. Linking to this site or to specific articles is allowed with proper acknowledgement. Reproducing articles, or any of the images contained in them, on another website or in any social media posting is a Copyright infringement.
Article is Copyright 2024 Thomas Stirr. Photographs are Copyright 2023 Thomas Stirr. All rights reserved. No use, duplication or adaptation of any kind is allowed without written consent. If you see this article reproduced anywhere else it is an unauthorized and illegal use. Posting comments on offending websites and calling out individuals who steal intellectual property is always appreciated!